How to Measure Your Van Correctly Before Starting a DIY Conversion
You probably Googled your van's cargo dimensions. Don't trust them. Those factory specs are for loading square pallets into an empty metal box, not for building a camper layout. A DIY van conversion requires millimeter precision. If you base your bed frame on a brochure's width, you're going to have a bad time. Grab a tape measure. We're doing this the hard way. Because it's the only right way.
The Arsenal (It's Cheaper Than You Think)
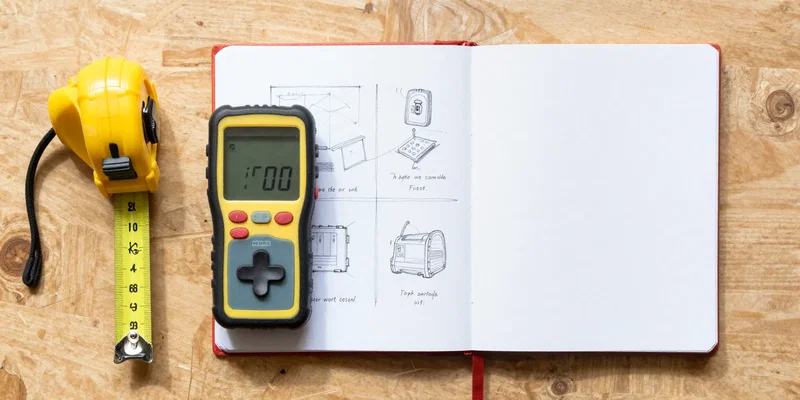
You don't need a 3D scanner to measure a van. But you do need more than a dollar-store ruler. Get a quality 25-foot metal tape measure. Buy a cheap laser distance measurer. Grab a notebook, some graph paper, and a pencil with a good eraser. You will make mistakes. A laser measurer is your absolute best friend here. It shoots straight across the cargo area right when your flimsy tape measure decides to fold in half.
The Floor Is Lava (And Covered in Ridges)
Look at the floor. It's not flat. It's a corrugated metal nightmare. When you map out the floor for your van build planning, you have to account for the highest points of those ridges. That's your true baseline. Then there are the wheel wells. Measure their exact width, height, and distance from the rear doors. Build a cheap cardboard box around them to actually visualize the dead space. Treat them like the giant, annoying metal lumps they are.
The Walls Are Lying to You
Here is a painful truth about vans. They taper. The floor width is never the ceiling width. The middle of the van bulges out like a balloon. If you measure a van wall-to-wall at the floor and build your upper cabinets based on that number, they won't fit. Not even close. You need three distinct measurements for width: floor level, waist level, and ceiling level. Map that curve. Do it every two feet down the entire length of the rig.
Don't Forget the Insulation Tax
The metal skin of the van is not your living space boundary. You have to subtract the insulation, the furring strips, and the wood paneling. That's the insulation tax. Plan on losing at least two to three inches on every single surface. Floor, ceiling, left wall, right wall. That massive 70-inch width you just measured? It's actually 65 inches of usable space. Plan your entire camper layout around the finished walls, not the bare metal.